Getting Started with AI Meal Planning: Your First Week
By ThisWeekEats Team
January 9, 2025
7 min read
Getting Started with AI Meal Planning: Your First Week
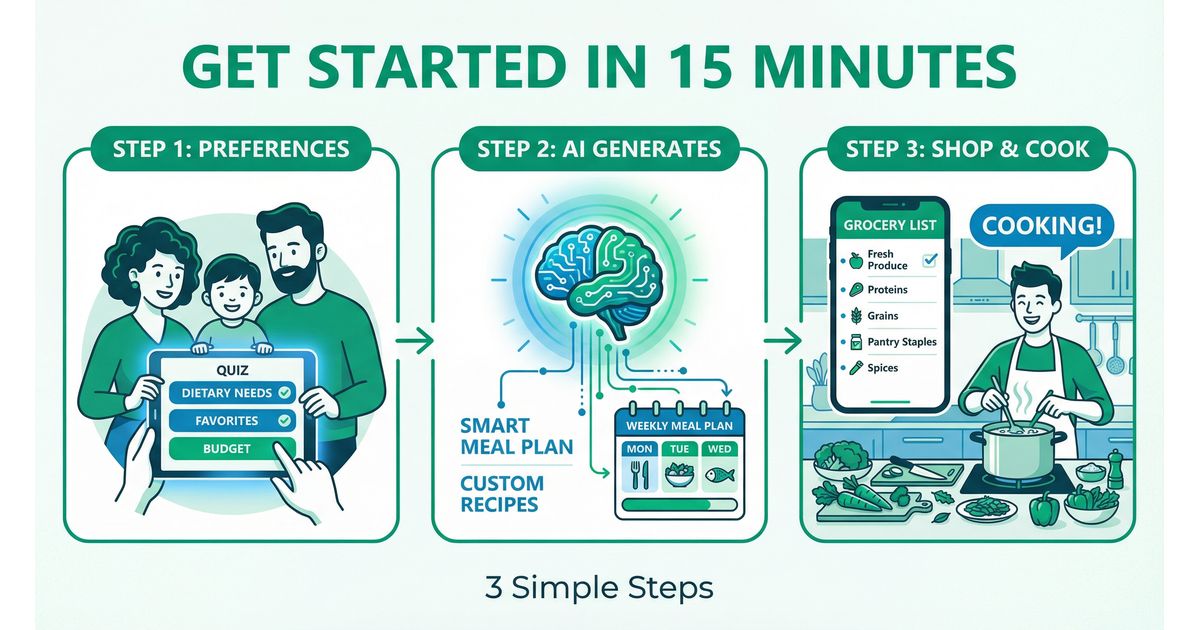
You've signed up for ThisWeekEats. Now what?
This guide walks you through your first week—from setting up your family profile to generating your first meal plan, shopping, cooking, and rating meals for continuous improvement.
Total time investment: ~20 minutes to set up, then less than 5 minutes per week ongoing.
Let's get started.
Step 1: Create Your Family Profile (5-10 minutes)
The foundation of personalized meal planning is your family profile.
Add Family Members
Go to: Family Settings → Manage Members
Add each person in your household:
- Name: (e.g., Dad, Mom, Emma, Lucas)
- Age: (affects calorie targets)
- Role: Family Admin (full control) vs. Family User (personal preferences only) vs. Managed Member (non-login members like young kids)
Why this matters: The AI tailors meal plans based on who's eating which meals and individual preferences.
Set Weekly Eating Schedule
Go to: Family Settings → Weekly Schedule
For each family member, indicate which meals they eat at home:
Example:
- Dad: ✓ Breakfast, ✗ Lunch (eats at work), ✓ Dinner
- Mom: ✓ Breakfast, ✓ Lunch, ✓ Dinner
- Emma (age 8): ✓ Breakfast, ✗ Lunch (school), ✓ Dinner
- Lucas (age 5): ✓ Breakfast, ✗ Lunch (daycare), ✓ Dinner
Why this matters: The AI only plans meals for people who are actually eating at home. No wasted food, no unnecessary cooking.
Configure Family Settings
Go to: Family Settings → Preferences
Set household-level preferences:
Budget Per Meal:
- Budget-conscious: $5-8 per person (simple, affordable ingredients)
- Moderate: $8-12 per person (balanced quality and cost)
- Flexible: $12+ per person (premium ingredients, specialty items)
Cooking Skill Level:
- Beginner: Simple recipes, basic techniques, minimal equipment
- Intermediate: Moderate complexity, some advanced techniques
- Advanced: Complex recipes, professional techniques
Adventure Level:
- Conservative: Familiar American/Italian cuisines
- Moderate: Include Mexican and basic Asian (teriyaki, fried rice)
- Adventurous: Thai, Indian, Vietnamese, Korean, Japanese, etc.
Health Focus:
- Balanced: Evidence-based macros (carbs 45-65%, fat 20-35%, protein 10-30%)
- Low-carb: Reduced carbs, increased protein/fat
- High-protein: Emphasis on protein for muscle building/satiety
- Heart-healthy: Lower saturated fat, higher fiber
Recipe Pool Sizes:
- Breakfast: 3-15 recipes (smaller pools = more repetition)
- Lunch: 5-25 recipes
- Dinner: 15-60 recipes (larger pools = more variety)
Pro tip: Start with moderate settings. You can adjust later based on your experience.
Step 2: Rate Food Preferences (10-15 minutes)
This is the most important step—teaching the AI what your family likes.
The 5-Level Rating System
Go to: Preferences → Food Ratings
Rate ingredients across 7 categories:
Rating Scale:
- Love: (5/5) Favorite! Schedule this often.
- Like: (4/5) Enjoy it. Include regularly.
- Neutral: (3/5) Fine with it. Use occasionally.
- Avoid: (2/5) Prefer not to eat. Minimize or skip.
- Never: (1/5) Absolutely exclude. Do not include.
Categories (169+ ingredients):
- Proteins: Chicken, beef, pork, salmon, shrimp, tofu, eggs, etc.
- Vegetables: Broccoli, spinach, bell peppers, carrots, zucchini, etc.
- Grains: Rice, quinoa, pasta, bread, oats, couscous, etc.
- Fruits: Apples, bananas, berries, oranges, melons, etc.
- Dairy: Milk, cheese, yogurt, butter, cream, etc.
- Pantry: Olive oil, soy sauce, garlic, onions, spices, etc.
- General: Eggs, beans, nuts, seeds, condiments, etc.
Time-Saving Tricks
Use "Show Only Unrated" Filter:
- Hides already-rated ingredients
- Focuses on what still needs ratings
- Speeds up the process significantly
Rate as a Family:
- Sit down together for 10-15 minutes
- Each person rates their preferences
- Makes onboarding fun and collaborative
You Don't Need to Rate Everything:
- Focus on proteins, vegetables, and grains first
- Leave less common items for later
- The AI uses "Neutral" as the default for unrated items
Add Dietary Restrictions & Allergies
Go to: Preferences → Dietary Restrictions
Select any that apply:
- Vegetarian
- Vegan
- Gluten-free
- Dairy-free
- Keto
- Paleo
- Low-carb
- Nut-free
Add Critical Allergies:
- Mark any life-threatening allergies (peanuts, shellfish, tree nuts, dairy, eggs, soy, wheat, fish, sesame)
- The 5-layer allergen safety system activates automatically
Why this matters: Dietary restrictions and allergies are absolute exclusions. The AI never suggests recipes that violate these rules.
Step 3: Generate Your First Meal Plan (30 seconds)
Now for the magic part.
Go to: Meal Plans → Generate New Plan
Select:
- Week: Choose the week you're planning for (this week, next week, etc.)
- Meals: Breakfast, Lunch, Dinner (or select specific meals)
- People: Confirm who's eating which meals (based on your schedule)
Click: "Generate Meal Plan"
What happens next:
- The Expanding Circle Algorithm selects proteins
- The AI generates personalized recipes
- Nutrition is validated via the hybrid lookup system
- Recipes are quality-scored (4-tier grading)
- Allergen safety checks run (5-layer protection)
- Your meal plan appears in 10-30 seconds
Result: A full week of personalized meals—breakfast, lunch, and dinner—tailored to your family's preferences, budget, and dietary needs.
Step 4: Review & Adjust Your Meal Plan (5 minutes)
Go to: Meal Plans → This Week
Review your generated meals:
Each recipe card shows:
- Recipe name
- Prep time + cook time
- Calories per serving
- Who's eating it
- Allergen safety status (✓ Safe for all family members)
Options:
- Keep it: Looks great! No changes needed.
- Swap it: Not feeling this recipe? Click "Swap" to generate a replacement.
- Customize it: Edit ingredients or servings (advanced feature).
Pro tip: Don't overthink it. The AI learns from your ratings over time, so week 1 won't be perfect—but it gets better every week.
Step 5: Generate Your Shopping List (10 seconds)
Go to: Meal Plans → This Week → Generate Shopping List
Click: "Generate Shopping List"
What you get:
- Categorized list: Produce, meat, dairy, pantry, frozen
- Consolidated quantities: (e.g., 3 recipes need onions → "3 onions" on list)
- Flagged pantry staples: (e.g., "Olive oil - check if you have it")
You can:
- Check off items as you shop (in-app or print the list)
- Add custom items (snacks, household goods, etc.)
- Edit quantities if you already have some ingredients
Pro tip: Shop on Sunday (or your preferred day) for the entire week. One trip. No forgotten ingredients. No mid-week emergency runs.
Step 6: Cook Your First Meal
Go to: Meal Plans → Today → View Recipe
What you'll see:
- "Who's Eating" section: Shows all attendees (e.g., Dad, Mom, Emma, Lucas)
- Ingredient list: With exact amounts (scaled for your family size)
- Instructions: Step-by-step with clear prep methods (dice, chop, mince, etc.)
- Timing: Prep time, cook time, total time
- Allergen safety alert: Green checkmark (✓ Safe for all family members) or warnings if applicable
- Nutrition: Per-person breakdown (calories, protein, carbs, fat)
Cooking tips:
- Prep first: Read the recipe, gather ingredients, prep vegetables before starting
- Follow timing: Instructions are designed to overlap (e.g., chop veggies while chicken grills)
- Use timers: Don't rely on memory—set phone timers for each step
Pro tip: The first few recipes may feel unfamiliar. That's normal. By week 3-4, you'll have favorite recipes in rotation that feel effortless.
Step 7: Rate Your Meal (30 seconds per person)
After dinner, go to: Meal Plans → Today → Rate Meal
Each family member rates the meal:
- Love (5/5): Make this again soon!
- Like (4/5): Enjoyed it. Keep in rotation.
- OK (3/5): Fine, but not memorable.
- Avoid (2/5): Not my favorite. Minimize this.
- Never (1/5): Don't make this again for me.
What happens next:
- The AI adjusts future meal plans based on ratings
- Love ratings: Recipe appears more frequently (every 2-3 weeks)
- Never ratings: Recipe removed from rotation (for that person or entirely)
Why this matters: Ratings create a feedback loop. The AI learns what your family actually enjoys, not just what it thought you'd like.
Step 8: Repeat & Improve (Week 2 and Beyond)
Week 2:
- Generate next week's meal plan (30 seconds)
- Shop with your auto-generated list
- Cook and rate meals
Week 3:
- Notice improvements (AI is learning your tastes)
- Favorite recipes start appearing again
- Disliked recipes are gone
Week 4:
- Meal planning feels effortless
- You're spending <5 minutes per week on planning
- Dinners are more varied and enjoyable than ever before
The system gets smarter every week.
Common Questions
"What if I don't like a generated recipe?"
Solution: Click "Swap" to generate a replacement. Or cook it anyway and rate it "Never"—it won't appear again.
"What if I want to cook something NOT on the plan?"
Solution: That's fine! The meal plan is a tool, not a rule. Cook what you want. You can mark planned meals as "skipped" and they won't generate a shopping list.
"What if I run out of time to cook?"
Solution: Order takeout or make something simple. The meal plan is there when you need it, but life happens. No guilt.
"How do I handle leftovers?"
Solution: Configure leftover preferences in Family Settings. The AI can plan larger dinner portions for next-day lunches automatically.
"Can I add my own recipes?"
Solution: Yes! Go to Recipe Repository → Add Custom Recipe. Enter ingredients, instructions, and nutrition. The AI includes it in future meal plans.
Pro Tips for Success
1. Start Simple
- Use moderate settings (budget, adventure level, recipe pools)
- Don't overwhelm yourself with exotic cuisines in week 1
- Let the system ease you in
2. Rate Honestly
- Don't rate meals "Love" just to be nice—rate based on what you actually want to eat again
- Honest ratings = better future meal plans
3. Shop on a Consistent Day
- Pick a day (Sunday is popular) and stick to it
- Meal planning becomes a habit, not a chore
4. Involve the Family
- Kids can help rate ingredients (makes them feel included)
- Partners can review meal plans together
- Shared ownership = better adherence
5. Give It 3-4 Weeks
- Week 1 is learning (for you and the AI)
- Week 2 is adjusting
- Week 3-4 is when it clicks and feels effortless
The Bottom Line
Time investment:
- Week 1: 20 minutes (setup + rating preferences)
- Weeks 2+: <5 minutes per week (generate plan, review, done)
What you get:
- Personalized meal plans (variety, nutrition, safety)
- Auto-generated shopping lists (one trip, no forgotten items)
- Continuous improvement (AI learns your tastes)
- Zero daily "what's for dinner?" stress
Welcome to effortless meal planning.
Ready to Start Your First Week?
Sign up for ThisWeekEats and experience your first week of AI-powered meal planning—free for 7 days.
Medical Disclaimer
This article provides general guidance on using AI meal planning software. Individual nutritional needs vary based on age, health conditions, activity level, and other factors. Always consult with a registered dietitian, physician, or other qualified healthcare professional for personalized dietary guidance, especially if you have existing health conditions, food allergies, or specific dietary requirements.
Ready to Experience AI Meal Planning?
Try ThisWeekEats free for 7 days. No credit card required.
Start Your Free Trial